How to Turn a Character Design Into a Production-Ready Plush Toy
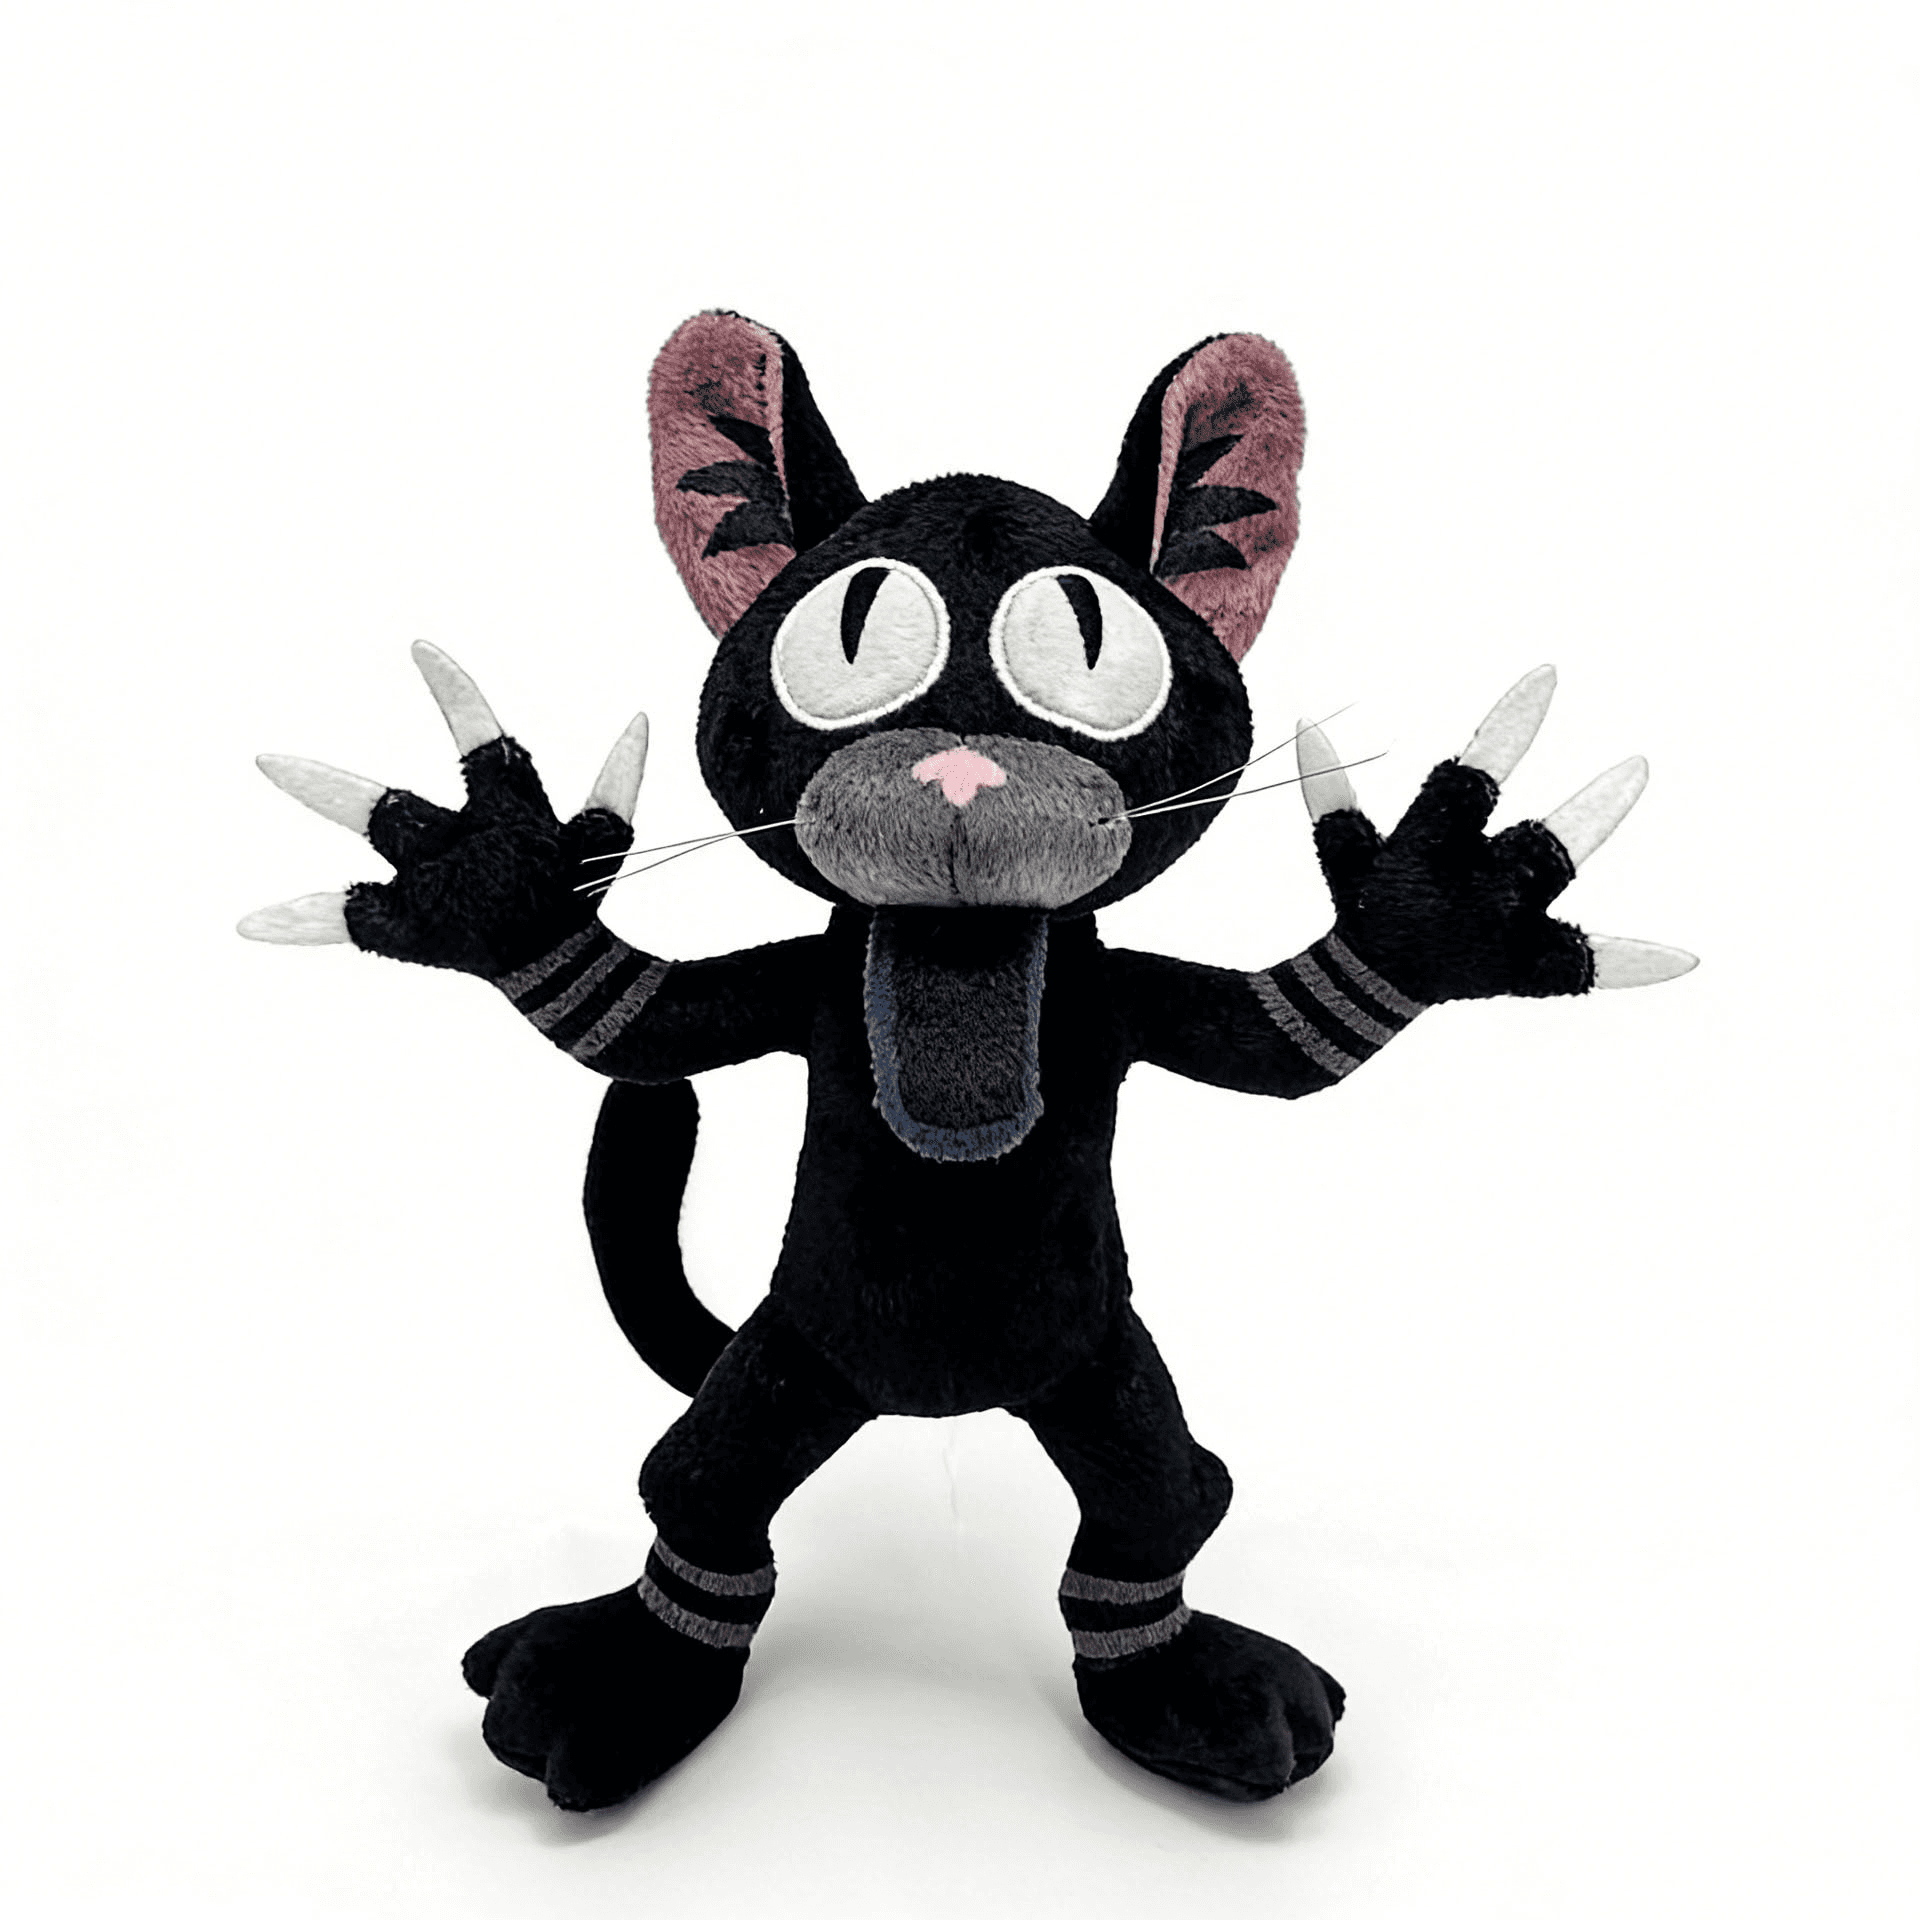
Turning character artwork into a plush toy is not a simple printing exercise. A two-dimensional design must become a soft, three-dimensional object that preserves the character's identity while remaining practical to pattern, sew, stuff, inspect and reproduce. This guide explains the decisions brands and IP teams should make with a character plush manufacturer before approving production.
01
What changes when a 2D character becomes a sewn product
Character artwork can use sharp corners, weightless hair, extremely thin limbs and details that only exist from one viewing angle. A plush toy is built from fabric panels with seam allowances, physical volume and filling. Every visible feature must therefore be translated into a pattern shape, surface decoration or attached component.
The objective is not to reproduce every line literally. It is to protect the features that make the character recognizable while adapting the design to the target size, material and intended use. A successful interpretation may simplify a tiny detail, change its construction method or adjust its position so it remains clear after sewing and stuffing.
- Recognizable silhouette
- Facial expression
- Signature colours
- Distinctive costume or accessory details
02
Prepare the artwork and commercial project brief
A front-view illustration is enough to begin a development conversation, but additional references reduce interpretation risk. Front, side and back views clarify depth, tail position, costume layers and details that are hidden in the hero artwork. Colour references and notes should distinguish fixed brand details from areas where the manufacturer can recommend practical options.
The creative files should be accompanied by the commercial context. Target quantity, market, intended audience, selling environment, budget direction, deadline and delivery destination all influence format, material, packaging and the sampling plan. A museum retail plush and an event giveaway may begin with the same character but require different product decisions.
- Artwork, turnarounds or reference images
- Target size and product purpose
- Estimated quantity and destination
- Market, packaging and timeline requirements
03
Choose the right plush format, size and intended use
The same character can become a seated plush, standing mascot, mini plush keychain, soft pillow or part of a wider merchandise collection. Format should be selected before detailed pattern work because it establishes posture, stability, product scale and the amount of visual information the design can carry.
Size is not only a price decision. A small plush may require simplified fingers, facial markings or accessories, while a larger product may need additional panels or structural support. Consider how the item will be displayed, carried, packed and handled by the target customer.
- Seated, standing or soft-form posture
- Retail plush or compact keychain format
- Display stability and handling
- Packaging and shipping volume
04
Translate silhouette and proportions into a workable pattern
Pattern development converts the character into fabric panels that create volume when joined. The developer must decide where seams can support the shape without interrupting important visual areas. Head-to-body ratio, limb thickness, ear angle and centre of gravity may need adjustment so the finished plush looks balanced from the front, side and back.
A character that appears stable in artwork may lean or rotate after stuffing. Broad feet, a seated base, internal weighting or a revised body angle can improve stability. These changes should be discussed as product decisions, not hidden production corrections.
- Head, body and limb proportions
- Seam placement around important artwork
- Standing or sitting balance
- Front, side and back recognition
05
Select fabrics, filling and structural materials
Fabric affects colour, texture, perceived quality and the clarity of small details. Short-pile polyester plush can support clean shapes and embroidery, while sherpa or corduroy may create a more tactile character interpretation. RPET fabric directions may be considered when they fit the project, but availability and final product requirements still need review.
Filling density changes both appearance and hand feel. A soft, squeezable body behaves differently from a firmly stuffed display mascot. Internal support, weighting, foam or reinforced components may be needed for particular poses or accessories. Material recommendations should be reviewed together rather than as isolated swatches.
- Fabric texture, pile and stretch
- Colour availability and matching
- Filling density and hand feel
- Internal support or weighting needs
06
Decide between embroidery, printing and applique
Facial features and artwork details can be created through embroidery, printing, applique or separate sewn components. Embroidery offers a tactile, defined finish but can become stiff when an area is too dense. Printing supports gradients and fine graphics but must be tested on the selected fabric. Applique creates layered colour shapes and can work well for bold markings or costume panels.
Placement matters as much as method. Long-pile fabric can hide fine stitching, curved panels can distort printed artwork and decoration too close to a seam can move during assembly. A useful sample confirms scale, colour and placement on the finished three-dimensional product.
- Embroidery for compact defined details
- Printing for gradients or complex graphics
- Applique for layered fabric shapes
- Separate components for dimensional features
07
Develop and review the first prototype
The first prototype is not expected to answer every production question. Its purpose is to test the proposed product direction and reveal where artwork, pattern, material and construction interact differently than expected. Review it in consistent lighting and request front, side, back and detail photographs when an in-person review is not practical.
Begin with character recognition and overall proportion before commenting on minor finishing details. Then review dimensions, expression, colour, seam positions, stuffing, stability, embroidery or print placement, labels and accessory attachment. This order prevents time being spent polishing a detail on a shape that still requires major adjustment.
- Silhouette and expression
- Dimensions and proportion
- Material and colour
- Construction, stability and decoration
08
Turn sample feedback into controlled revisions
Effective feedback is specific, consolidated and visual. Annotate photographs, reference dimensions and identify whether each comment is a required correction or a preference to explore. Conflicting instructions from creative, licensing, purchasing and marketing teams should be resolved before they are sent to the sample developer.
Prioritize changes by impact. A revised head shape may affect eye placement, seam position and embroidery, so it should be resolved before final decoration approval. Keep a version record so both buyer and manufacturer understand which sample, artwork and comments are current.
- Use annotated images and measurable references
- Separate required changes from optional ideas
- Consolidate stakeholder feedback
- Track sample and artwork versions
09
Prepare the product for production and quality review
Sample approval should lead to a controlled product specification. Record key dimensions and tolerances, fabric and colour references, embroidery or print artwork, filling direction, labels, hardware, packaging and carton requirements. The approved sample remains an important physical reference, but written details make production expectations easier to communicate and inspect.
Quality checkpoints should reflect the product and destination market. Appearance, symmetry, seams, attachments, dimensions, function, labels and packing can all form part of the review. Intended age group, testing and labeling responsibilities should be identified before production rather than assumed from a general product category.
- Approved sample and specification
- Dimensions and practical tolerances
- Decoration and attachment references
- Packaging, inspection and market requirements
10
What to send a character plush manufacturer
You do not need a finished technical specification to request an initial review. A clear brief allows a character plush manufacturer to identify open decisions, suggest a suitable development path and explain what is needed for sampling and quotation.
If some details are unknown, label them as open rather than guessing. This helps the development partner distinguish fixed brand requirements from areas where materials, size, structure or packaging can be recommended.
- Character artwork and brand guidelines
- Preferred product format and target size
- Estimated quantity and budget direction
- Target market and intended audience
- Packaging or retail requirements
- Deadline and delivery destination
Questions buyers ask before starting
Can a plush toy be developed from a sketch or reference image?
Yes. An early sketch, character sheet or reference image can begin the review. Giftora can help identify the missing decisions around format, size, materials, construction and sampling. Additional views and colour references reduce interpretation risk as the project develops.
What artwork files are useful for custom plush development?
Clear front artwork is the minimum useful starting point. Front, side and back views, vector logos, colour references, brand guidelines and notes about fixed character details are helpful when available. The artwork should also be paired with target size, quantity, market and intended use.
How is custom plush MOQ determined?
MOQ depends on product size, pattern complexity, fabric availability, decoration methods, accessories, colour variants and packaging. There is no responsible universal quantity for every design. A manufacturer should review the specific brief before recommending a feasible direction.
How long does custom plush sampling take?
Sampling time depends on artwork readiness, design complexity, material sourcing and the number of review rounds required. A realistic plan can be confirmed after the product format, construction and sample priorities are understood.
When should embroidery, printing or applique be used?
Embroidery suits defined tactile details, printing can support complex graphics or gradients, and applique creates layered fabric shapes. The right method depends on artwork scale, fabric texture, seam placement, intended use and the finish required.
Can one character be developed into several merchandise formats?
Yes. A character can extend into plush toys, keychains, pouches and related merchandise, but each format should be evaluated for function, scale and construction. A focused collection usually works better when products share a clear visual, material or packaging direction.