Custom Plush Sampling Process: From First Prototype to Approval
Sampling turns assumptions into something that can be held, measured and reviewed. A useful sample process gives the buyer clear approval points and keeps creative feedback connected to manufacturable details.
01
Concept and feasibility review
Before making a pattern, review the artwork, target size, intended use and key character features. This is the moment to identify details that may be too small, structurally weak or difficult to reproduce consistently.
02
Material and colour direction
Fabric texture, pile length, stretch, filling and decoration methods affect the final expression. Physical swatches or reliable colour references help reduce the gap between screen colour and manufactured material.
03
First pattern and prototype
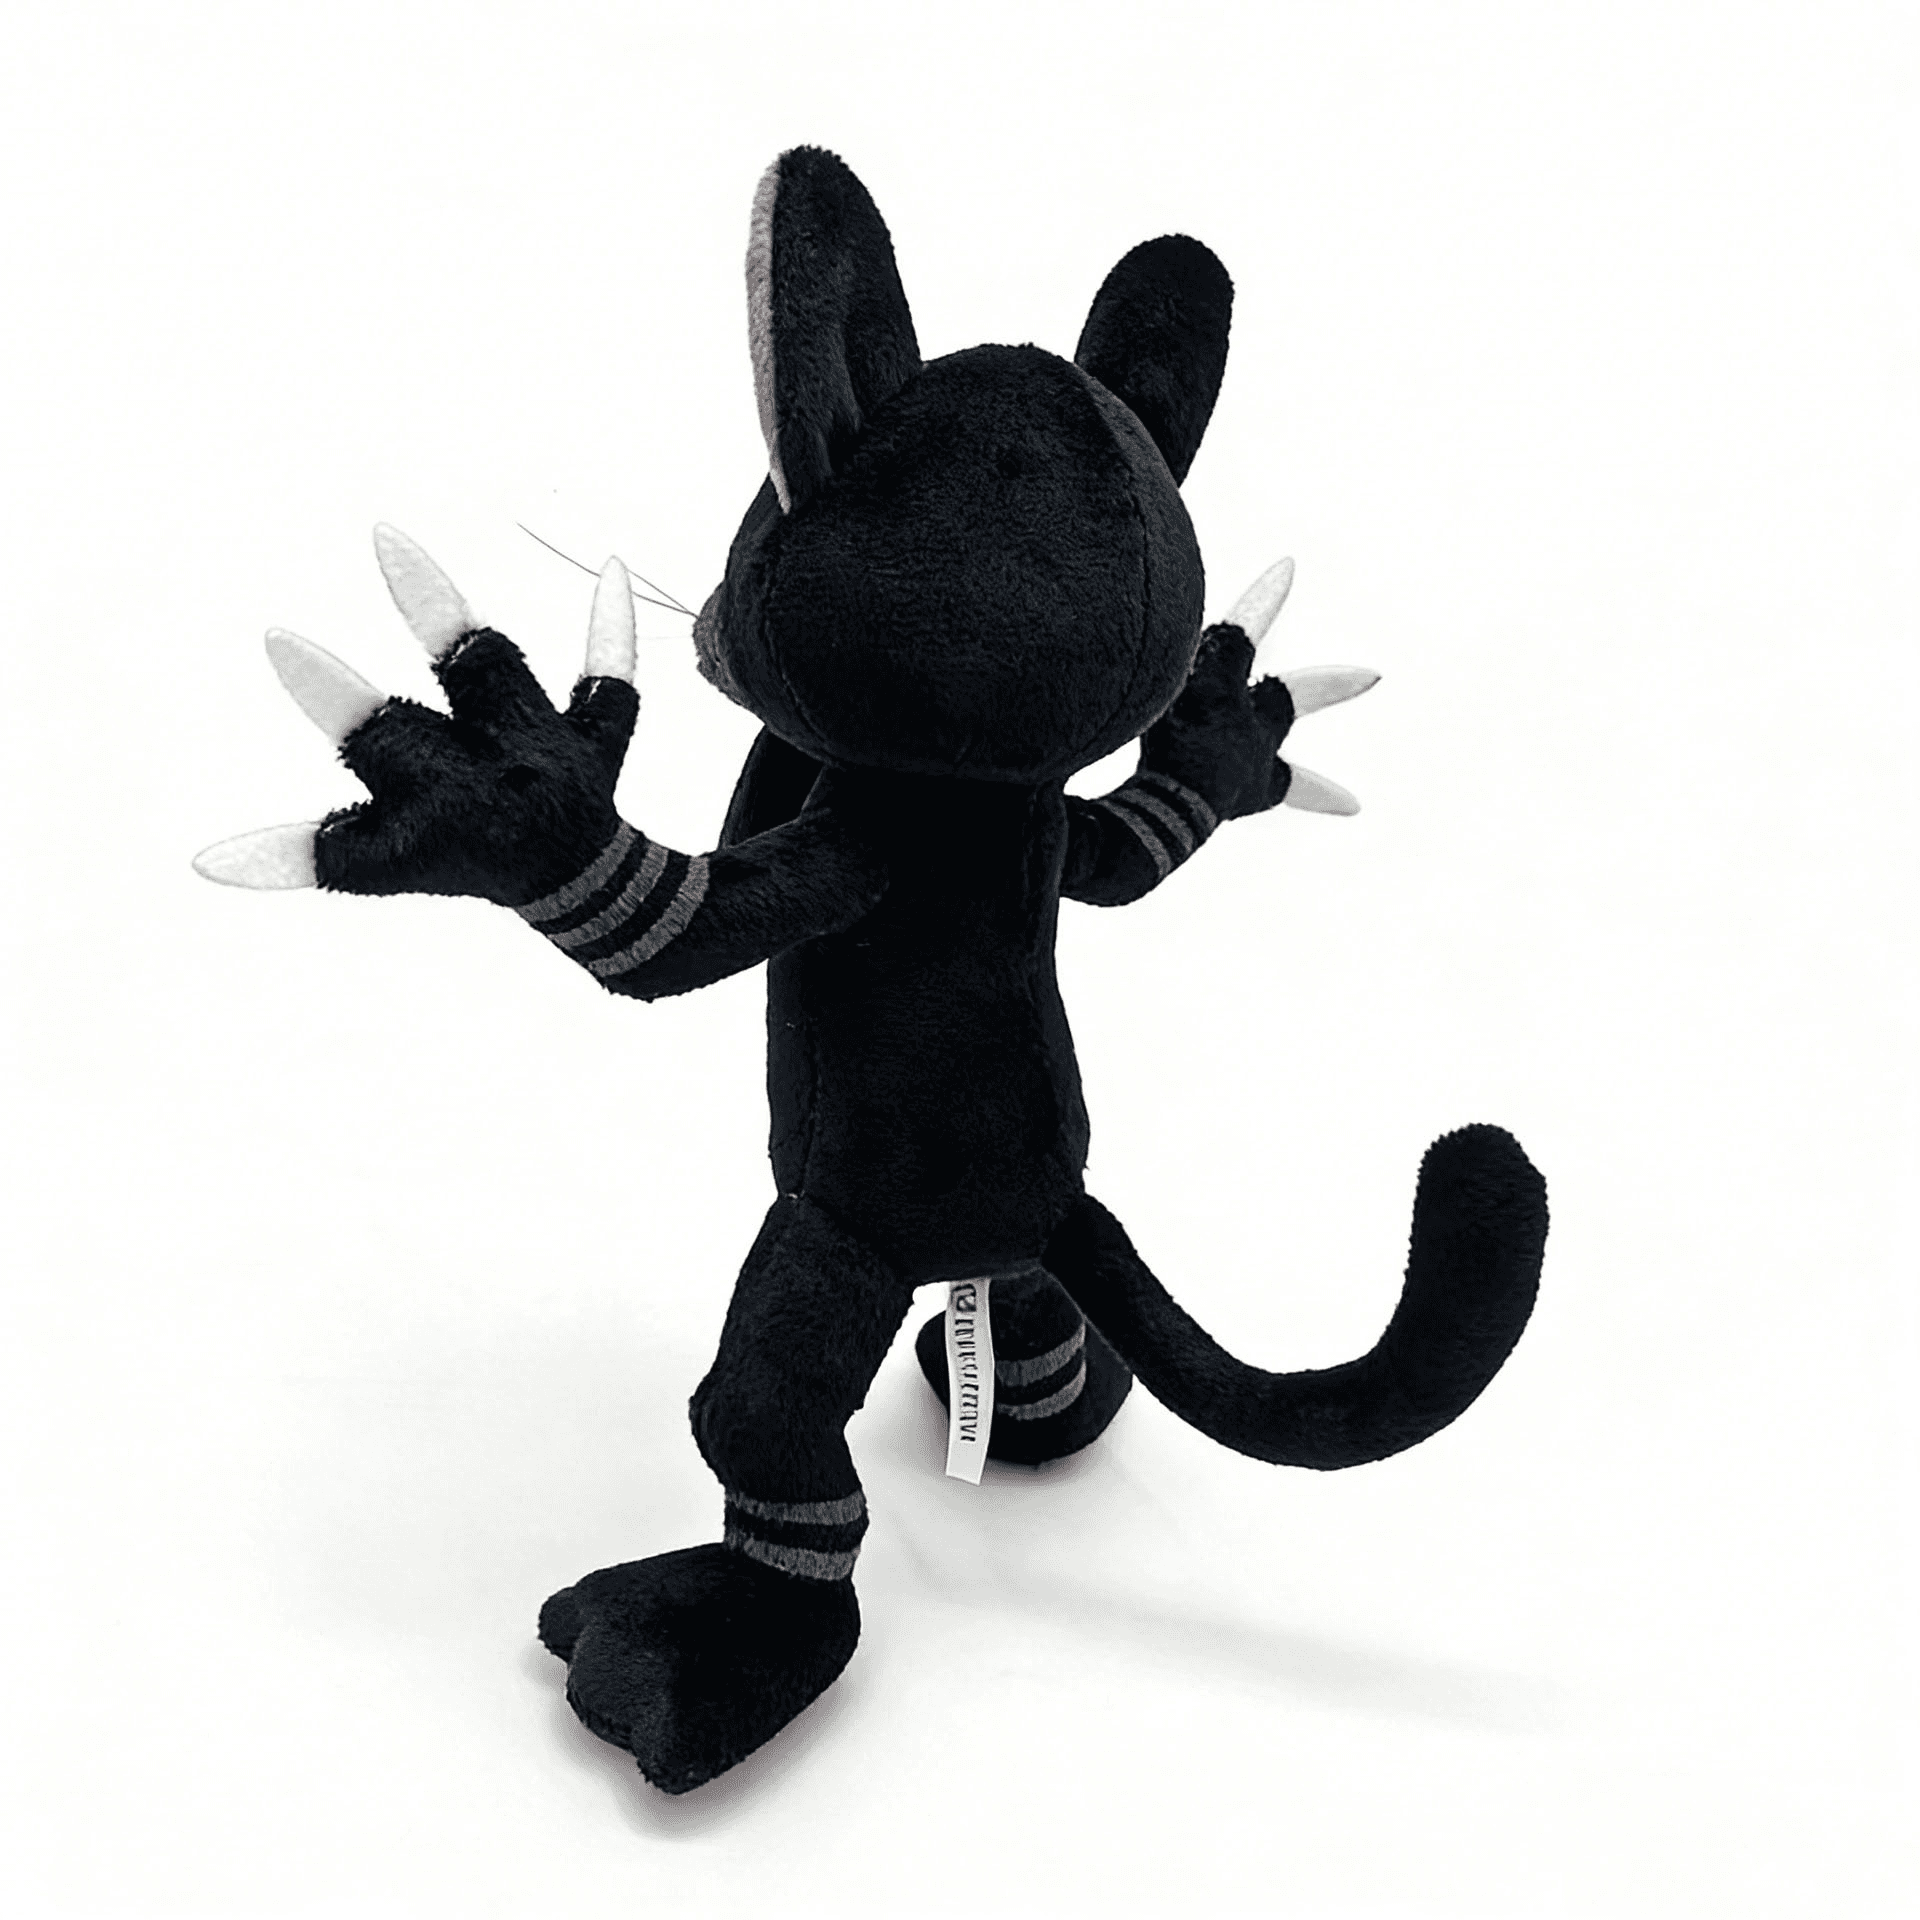
The first prototype tests the three-dimensional interpretation. It should be reviewed for silhouette, front and side proportions, seam placement, standing or sitting balance, embroidery position and how the product feels in hand.
- Expression and recognizable details
- Dimensions and proportion
- Construction and stability
- Colour and material appearance
04
Structured revision feedback
Mark comments on photographs, dimensions or annotated artwork and group them by priority. Clear feedback distinguishes required corrections from optional preferences and avoids conflicting instructions across email threads.
05
Pre-production confirmation
Sample approval should confirm more than appearance. Labels, hanging hardware, packaging, carton needs and inspection points should be aligned before production. If a pre-production sample is required, define what it must prove.